How to Tile a Shower: Pro Tips for Perfect Installation


Tiling a shower might look intimidating at first, but with the right guidance, it’s easier than you think. Modernizing an old bathroom, or starting from scratch with a brand new shower? No worries. From setting up your area to organizing your layout and completing the finishing touches for your shower tile design, we’ll cover everything with doable steps.
At the end, you'll be confident in tackling your own shower tile installation, and achieving a stunning, long-lasting outcome. Let’s begin.
Tiling a Shower: Prep Like a Pro for Success
When tiling a shower where do you start? You really need to make sure everything is in order before touching any tile.

1. Gather the tools: Make sure you have everything you'll need in advance, such as a tile cutter, trowel, level, mixing bucket, spacers, and of course, your safety gear!
2. Calculate your tiles: Calculate how many tiles you'll need and add 10% for cuts and errors.
3. Inspect and prep the surfaces: Verify that the walls and floors of your shower area are strong and waterproofed. Make sure the bathroom flooring or shower pan is appropriately sloped before placing shower floor tile to prevent your tiles from sitting on standing water.
4. Check manufacturer instructions: Verify that the tiles you pick are approved for shower floor and wall use. To maintain your tiles looking great and long-lasting, look nto any suggested thinset or grout.

5. Setup your workplace: Plan where debris will go and protect your workplace with drop cloths before beginning the shower tile installation. You don’t want to rush to the hardware store in the middle of a task!
6. Prioritize safety: Lastly, ensure that you are wearing safety gear and that your area is ventilated. Remember to shut off the water supply before you start.
7. Plan your tile layout before installing: Before you mix any thinset, take a little time to lay the tiles out or mark the pattern on the wall and floor. Doing this lets you see where cuts will fall, keeps everything looking balanced, and helps you avoid tiny, awkward pieces, so your finished shower looks clean, polished, and intentionally designed.
Waterproofing First for Longevity
The next critical stage is waterproofing. Tile and grout alone are not watertight, so the waterproof layer keeps moisture from entering the walls. You may use sheet membranes or liquid-applied solutions, but whatever you pick, make sure that every surface is completely covered, including corners, seams, screw holes, and niches. Overlap the seams as advised and form a continuous barrier before tiling.
Design, Layout and Material Planning
- Wall vs Floor Tile: Make sure any floor tile you choose is rated for floor use, as some tiles are only approved for walls.
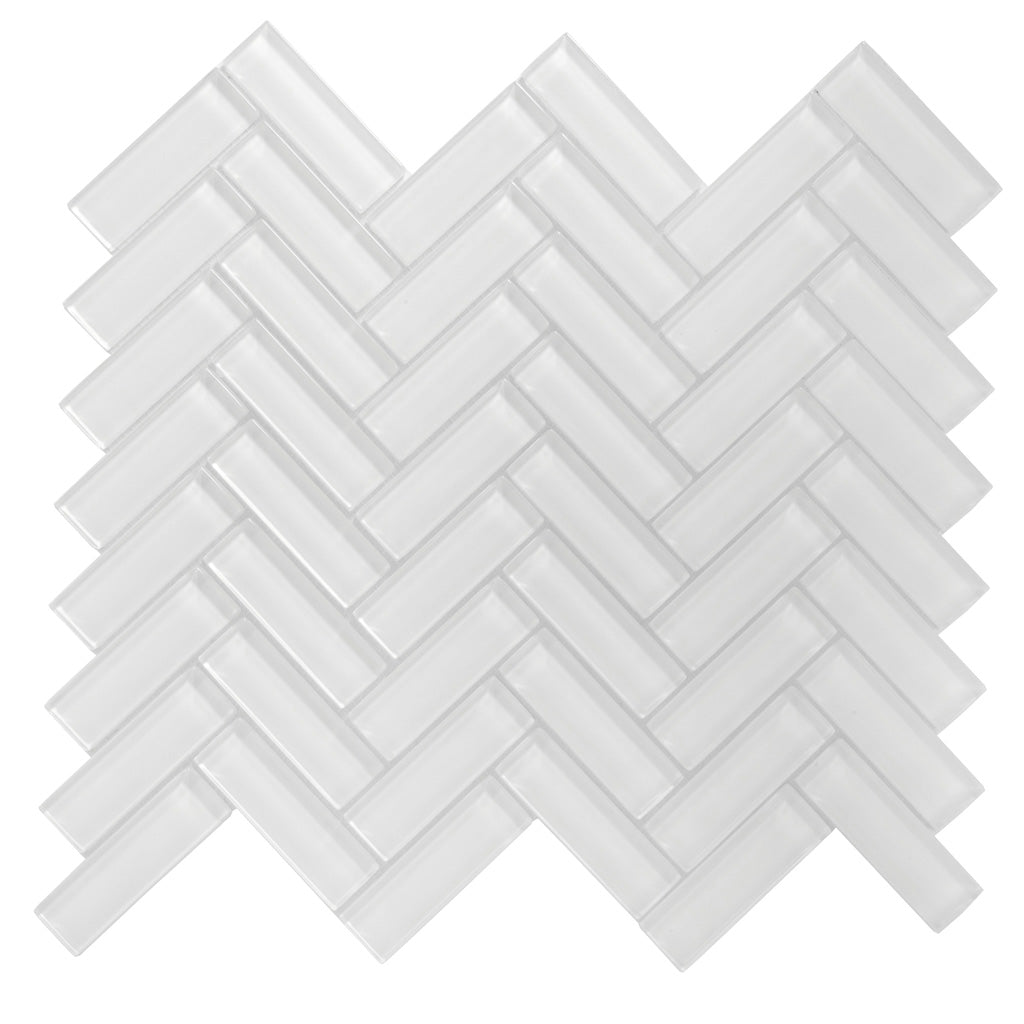
- Material Choice: Select tiles according to your design and function requirements. For example, glass tile for a bright and reflective shower, stone mosaics for a natural feel, or porcelain and ceramic for ease of upkeep!
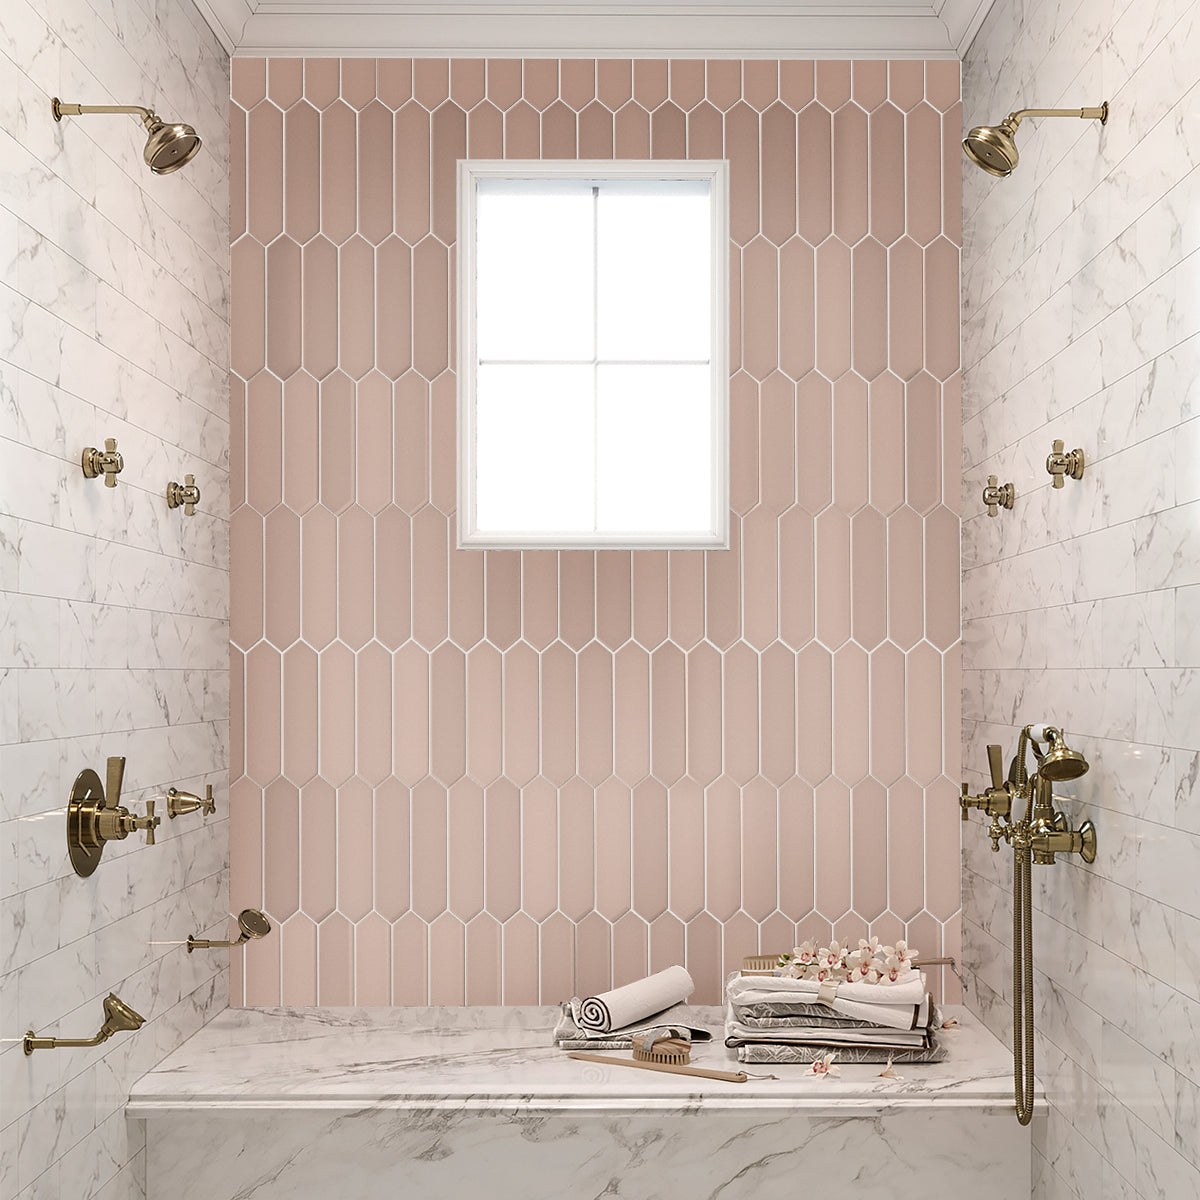
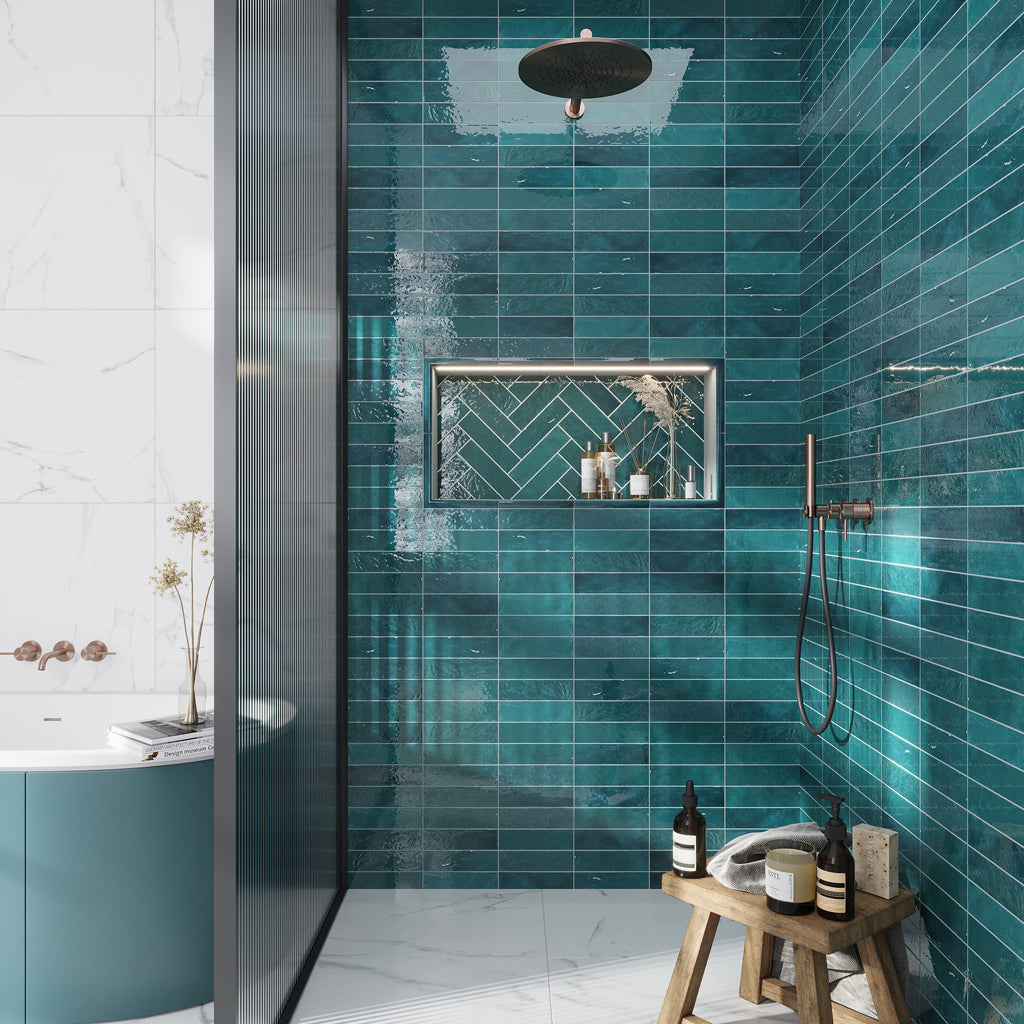
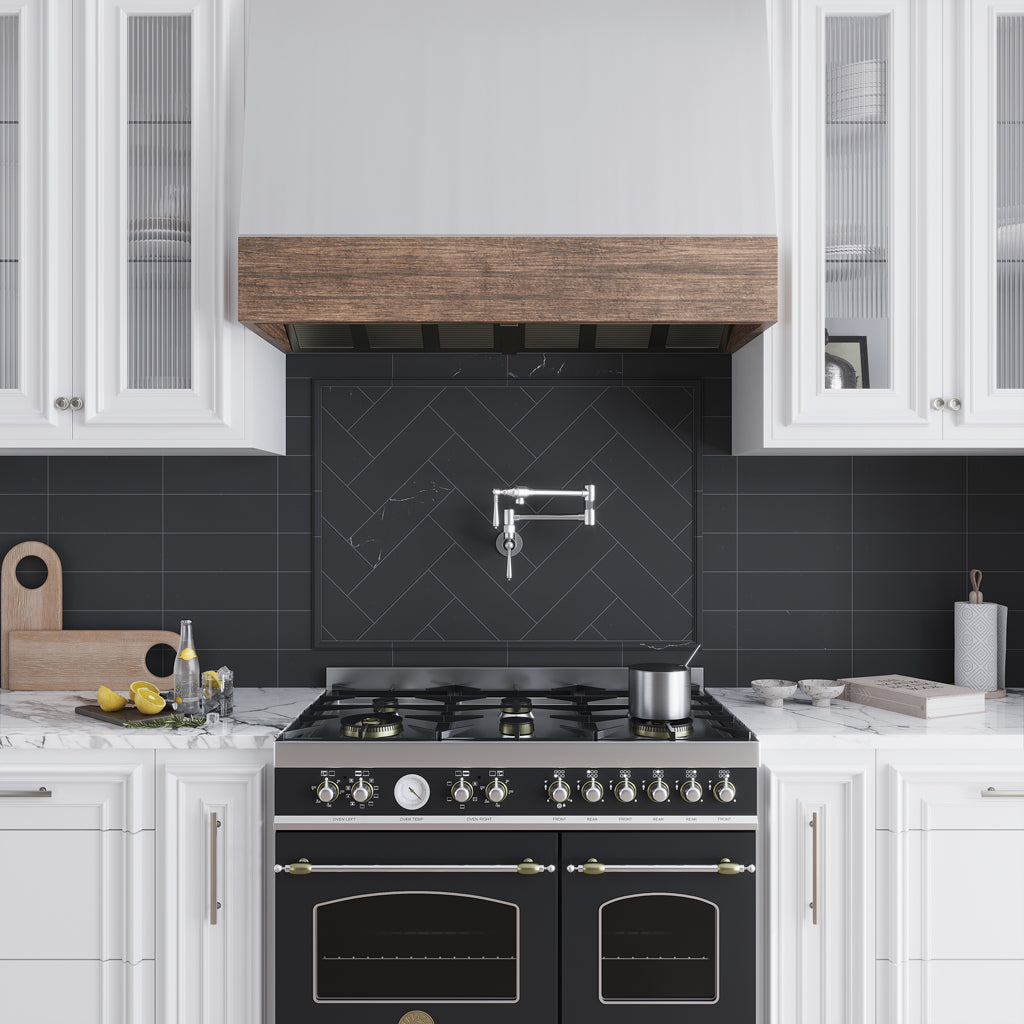
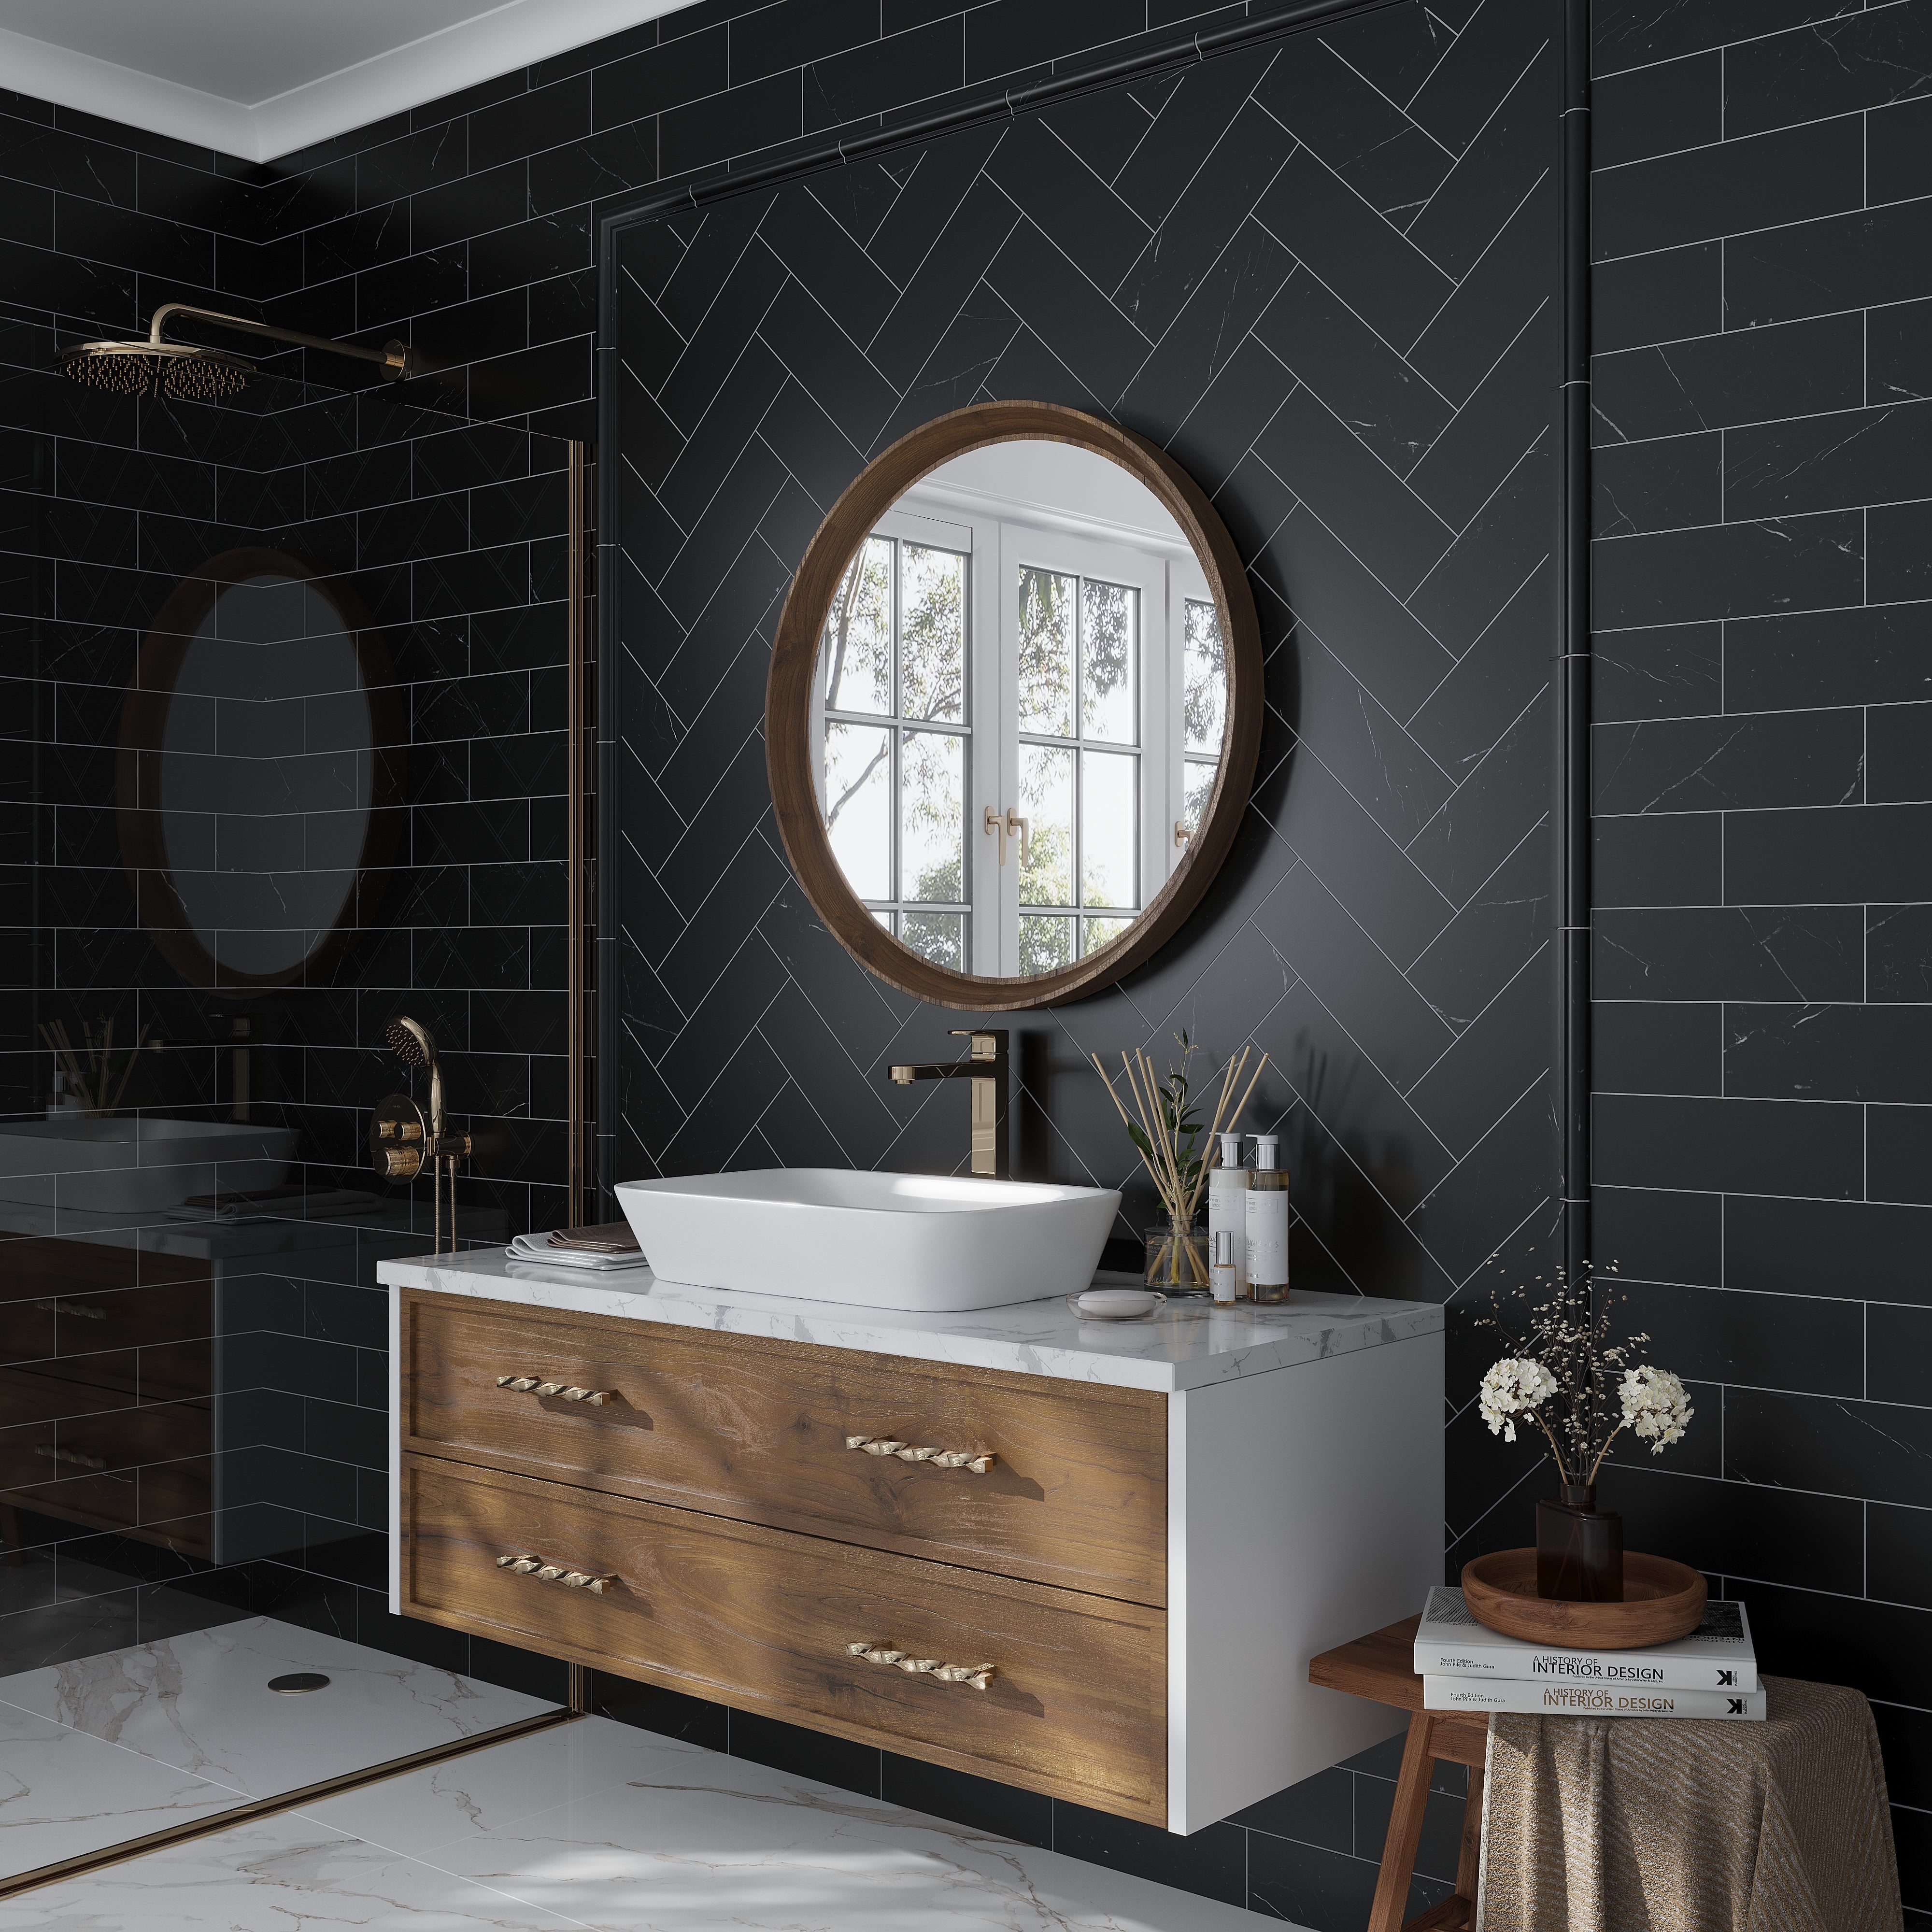
- Color Picks: Darker hues are better for a cozy atmosphere, while lighter hues make little showers feel larger.
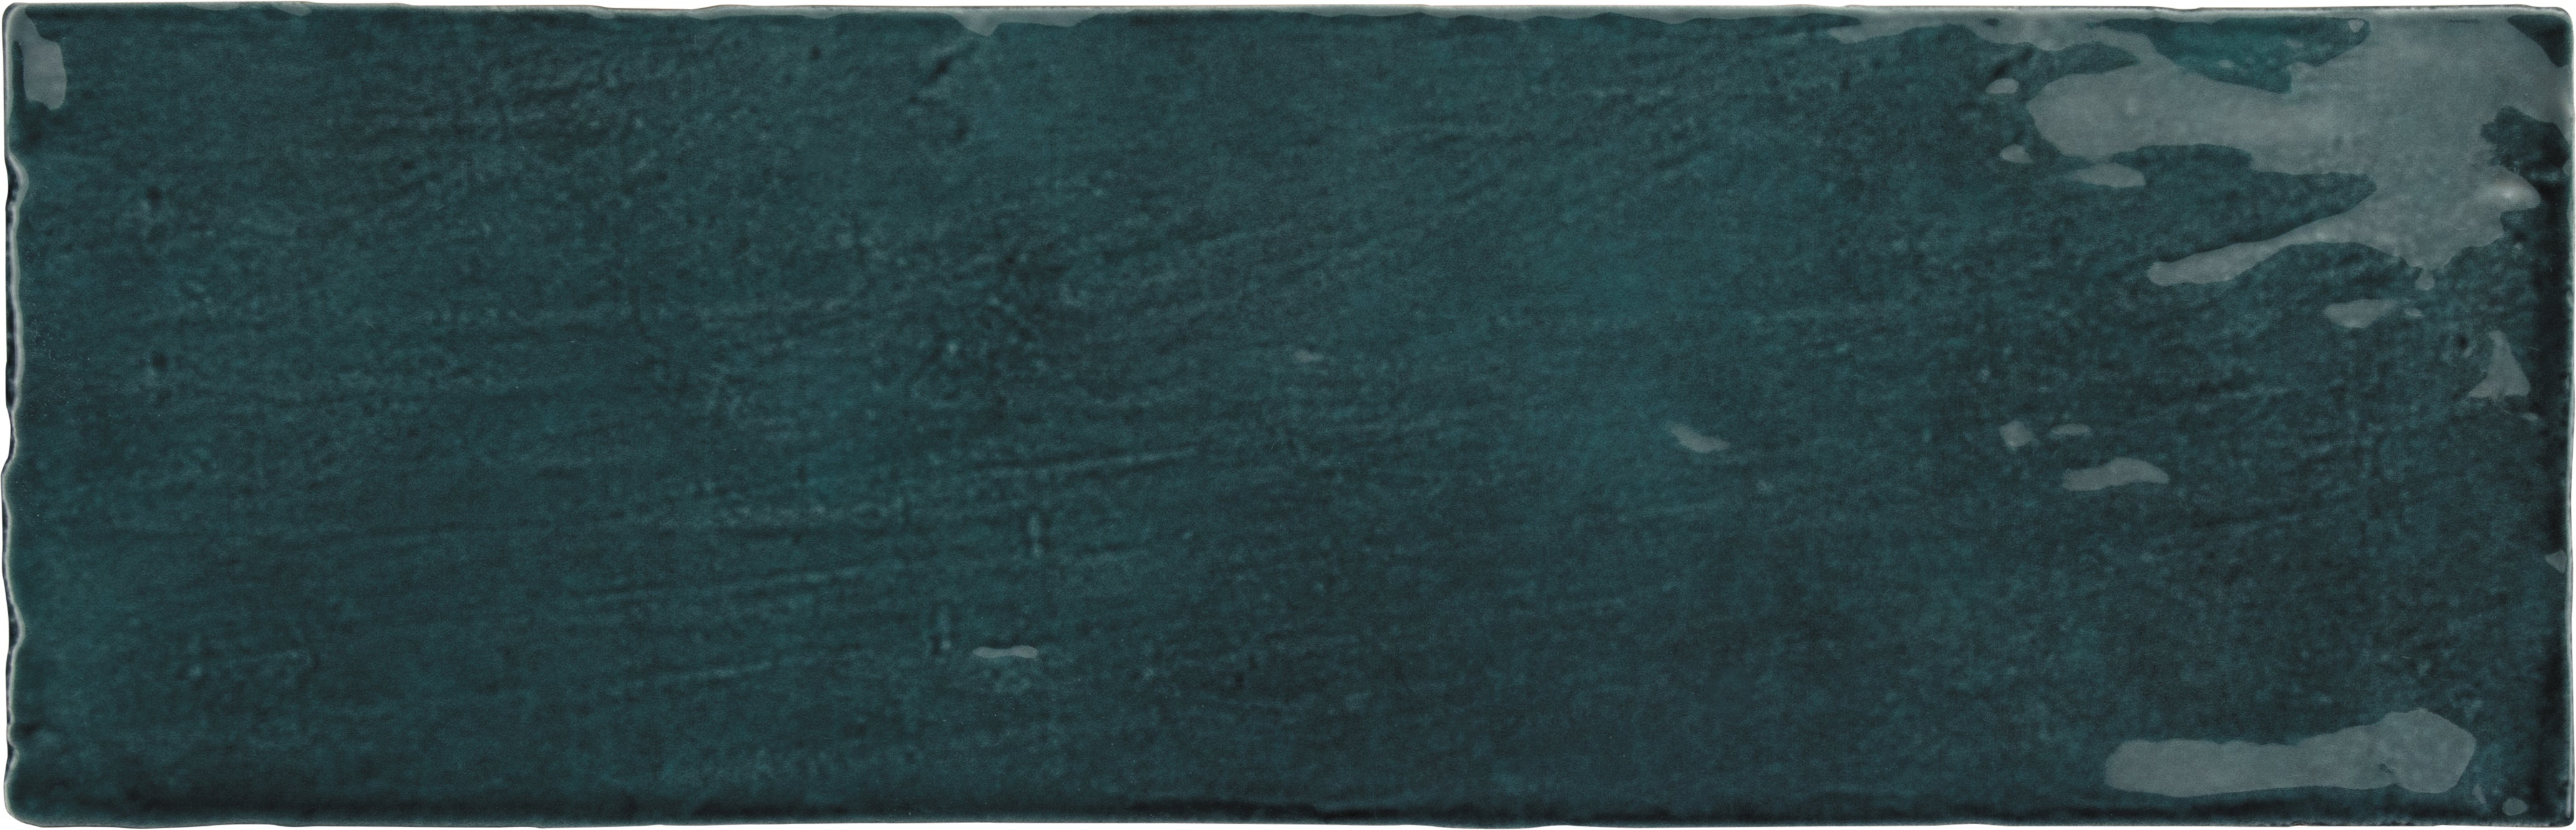
- Pattern Ideas: Go classic with subway tiles for a timeless design, or use geometric mosaics for a bolder personality.
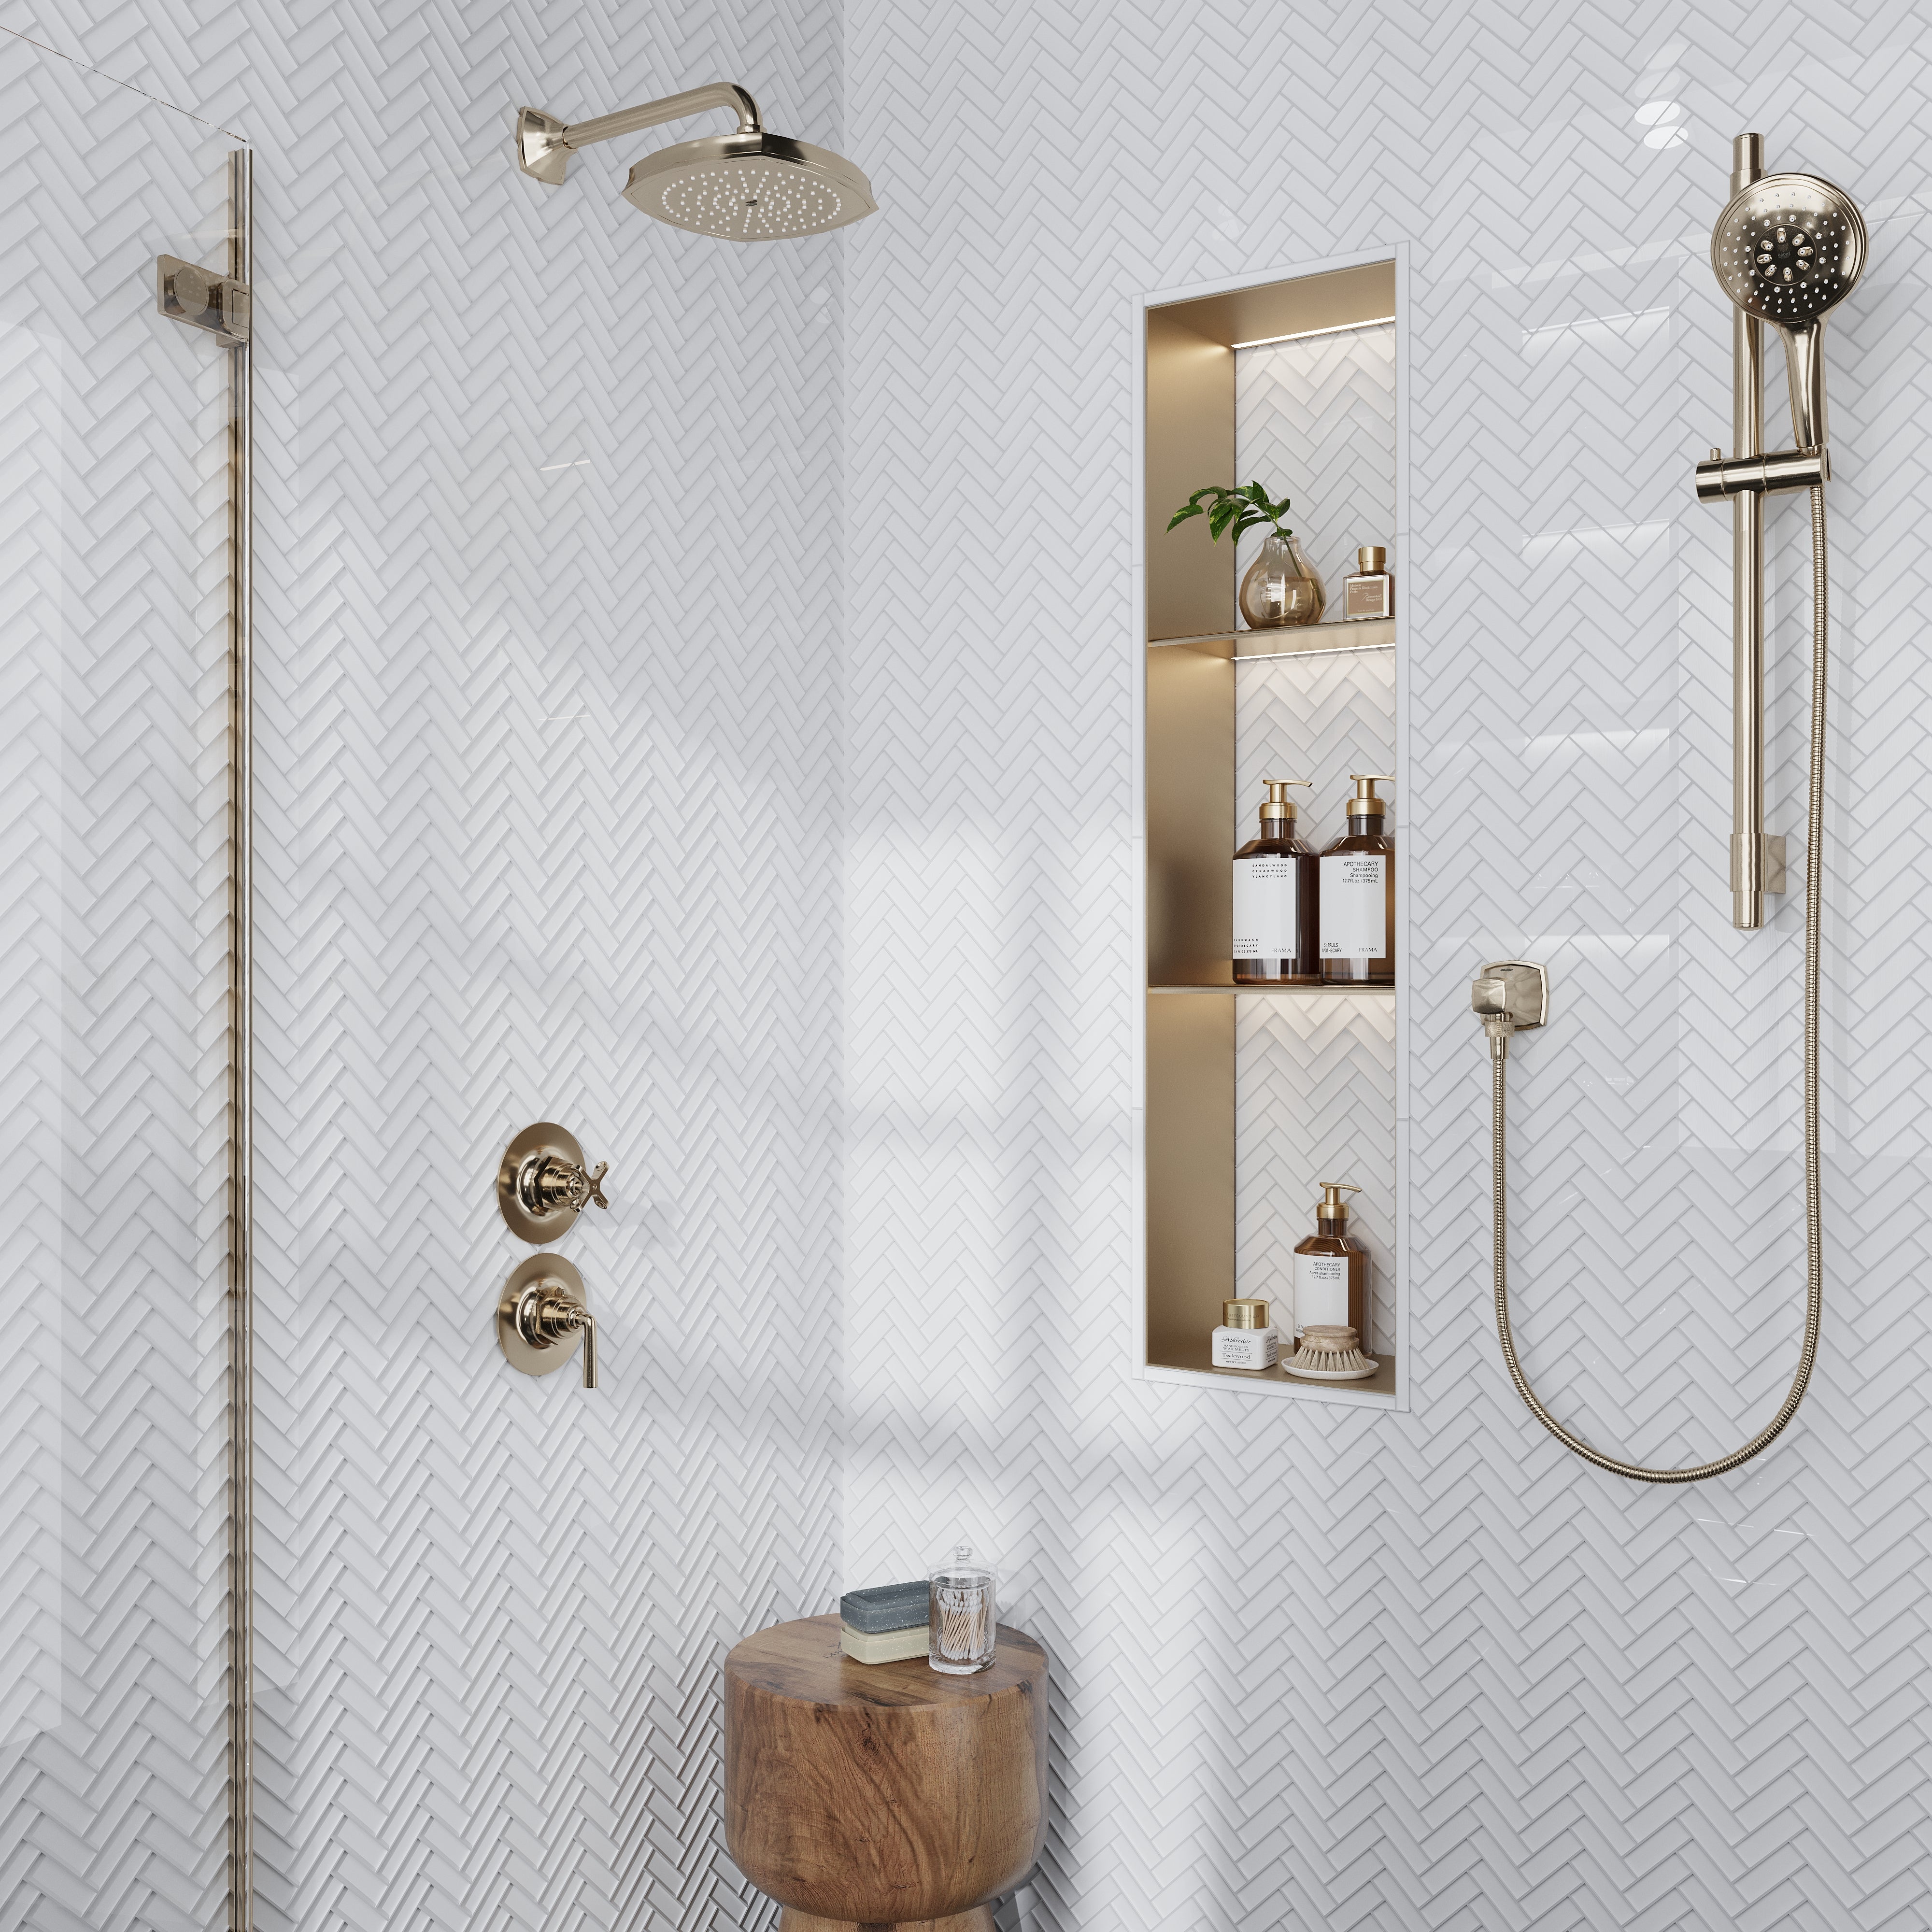
- Finish Matters: To enhance grip and safety in damp locations, use smaller mosaic tiles for floors, or matte and textured tile surfaces on larger forms.
- Accent Features: If you want a unique shower tile design, consider a feature wall behind the showerhead or a recessed niche with contrasting or patterned tiles. These design touches add visual interest and give your shower a totally polished look!
Step-by-Step Tile Installation
Now comes the exciting part: installation. Tiling a shower wall or floor is totally doable when you break it into chunks. So, let’s do it.
- Remove old materials: Remove old tiling, shower fixtures, edges, and any damaged drywall sections. Cleaning everything down to the studs.
- Install backer board: To create a waterproof wall surface, screw cement backer board to the wall studs. Use a mortar bed sloping toward the drain, or a prefabricated shower pan for the flooring.

- Plan your layout: To visualize the design, dry lay the tiles first. This shows your pattern and where the cuts will go. Start near the drain and work outward for shower floor tiles, and start at the bottom and move upward for shower wall tiles.
- Apply thinset: Mix the thinset to a peanut-butter consistency, then spread it with a notched trowel while holding it at a 45-degree angle for proper coverage on your surfaces.
- Set your tiles: After applying thinset, firmly press each tile with a little twist. To ensure regular grout lines, don't forget to use spacers between loose tiles. For mosaic tiles that come in sheets, you don’t need spacers.

- Cut tiles for edges: For precise cuts around shower edges and transitions, use a wet saw. When cutting, don't forget to wear safety glasses!
- Let Tiles Cure: When tiling a shower, give your tiles a minimum of 24 to 48 hours to cure. The thinset must harden before grouting.
- Start grouting: To begin grouting, mix your grout and apply it diagonally over the tiles using a rubber float. Use a damp sponge to remove any extra grout before it dries on tiles. Otherwise grout can scratch your design, particularly if you have glass tiles.
- Seal and caulk: Grout lines can be sealed to prevent stains and water damage in showers. Choose flexible caulk around your shower fittings and where walls meet the floor.
These were all the steps needed to know how to build a tile shower from start to end! Remember that patience is the key. If you take your time with each stage, you'll achieve results that are professional and long-lasting.
Damage Control & Troubleshooting: What to Do If It Goes Wrong
Mistakes happen during shower tiling. These are some typical problems you could make while tiling a shower, along with easy fixes.
- Lippage? Uneven tiles indicate that you did not regularly check the level. Before the thinset completely cures, you may gently remove and reset such tiles.
- Cracked tiles during cutting? For this reason, in order to avoid project delays due to replacements, you must buy that extra 10% up front!
- Grout haze left on tile surfaces? Always use a grout haze remover to clean grout within a day to prevent irreversible bonding.
- Tiles popping loose? It indicates that either the thinset covering or the waterproofing is inadequate. Affected tiles must be removed, the underlying problem must be resolved, and the tiles must be correctly reinstalled.
Finishing Your Tiled Shower: Grouting, Sealing, and Edges
After the tiles are laid, joints are filled with grout. We recommend epoxy grout as it is more resistant to moisture and mold than ordinary cement grout in showers. To avoid discoloration, it is essential to seal porous tiles, such as stone and marble tile, both before and after grouting.
After curing, seal all grout lines too. Use flexible caulk instead of grout where walls and floors meet because these connections need to be flexible.
On shower walls, tile trims around exposed edges add extra protection and a polished finish, preventing water damage and chipping in vulnerable spots. Trims also help create a cleaner, longer-lasting edge detail that keeps moisture out!

 Cost, Maintenance and Longevity Tips
So, how much does it cost to tile a shower? The cost of a shower tile installation varies based on the kind of tile, size of the shower, labor, and whether you do it yourself or hire an expert. To get the most long-term value, focus on selecting long-lasting materials and installing them correctly. Investing in quality waterproofing, grout, and sealants upfront can also reduce future repair costs.
To preserve longevity and avoid mold and water damage, reseal grout annually. Clean using pH-neutral solutions; over time, harsh chemicals break down sealants and grout. Catching small issues early helps prevent costly water damage behind the tile.
Tip: Proper ventilation after a shower prevents moisture buildup, helping keep grout strong and stopping mold from forming.
Maintenance Tips:
-
Proper ventilation after a shower prevents moisture buildup, helping keep grout strong and stopping mold from forming.
-
After each shower, quickly running a squeegee over the walls and floor can make a big difference. It takes just a minute and helps prevent water spots, cut down on soap scum, and keep your tile and grout looking good for years to come.
Frequently Asked Questions
1. How do you seal shower tile grout?
2. What base or surface is needed before installing shower tile?
3. How long before you can use a shower after tiling?
4. How often should shower grout be sealed?
5. How do you handle corners when tiling?
Install metal or plastic corner trim pieces in between ordinary tiles, or use bullnose tile trim on the outside corners for a polished appearance. Inside corners must stretch, so fill those seams with flexible caulk rather than grout.